And roasted fruit.
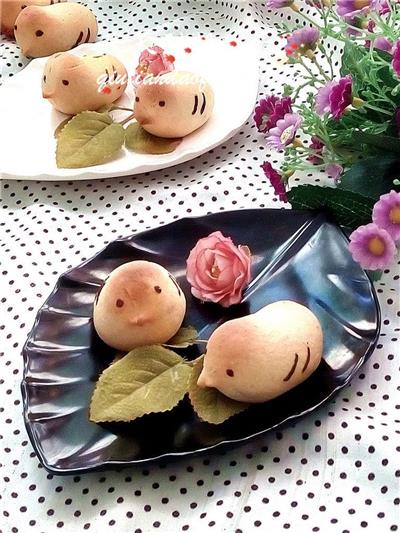
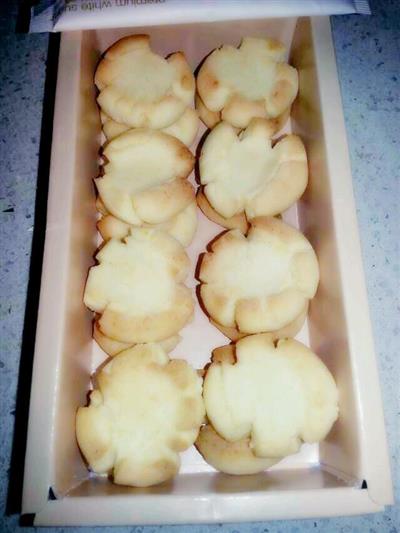
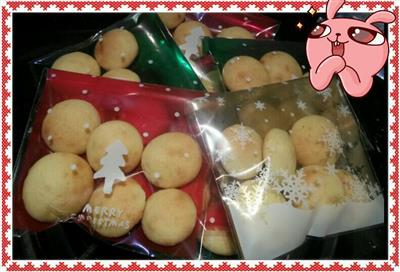
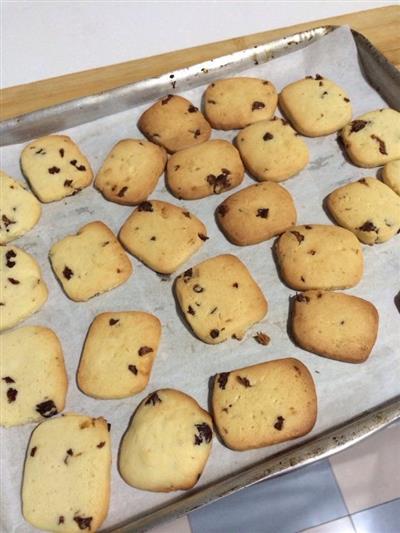
I've been interested in fried fruit for a long time, and the first time I saw the name of fried fruit and fried fruit, it gave me the intuitive feeling that it was a Japanese snack, I don't know if it was derived from that, please don't joke about my loneliness.I especially like the shape of this chicken, it's cute and realistic, I made the finished product for the gentleman to see, the gentleman asked me if I'm a chicken? Whatever it is, I like it very much, and as soon as I sent the picture to my circle of friends, everyone praised the cute, praised the beautiful production, I was happy to get everyone's praise.The ingredients of this roasted fruit are simple and the preparation is not very complicated, people think that this dessert is suitable for many people if the sweetness is not high, which is one of the reasons why I like it.
WHAT YOU NEED
Ingredients
100 grams of low-fat flour100 grams of milkOne egg yolk2 grams of flourRed beans in moderation
How TO MADE And roasted fruit.
Steps 1 to 4
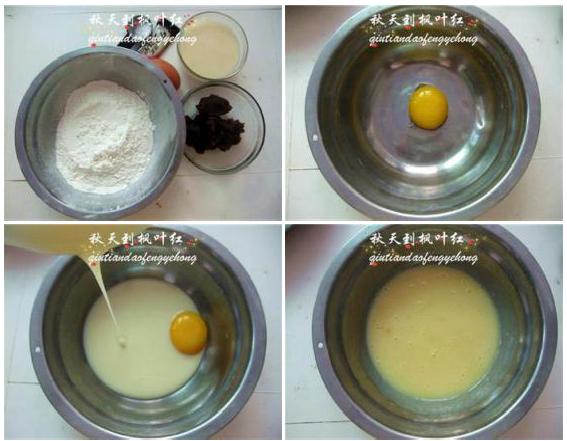
1. Preparing the material
2. Put the egg yolk in the container.
3. Added milk;
4. Mix milk and egg yolk evenly
Steps 5 to 8
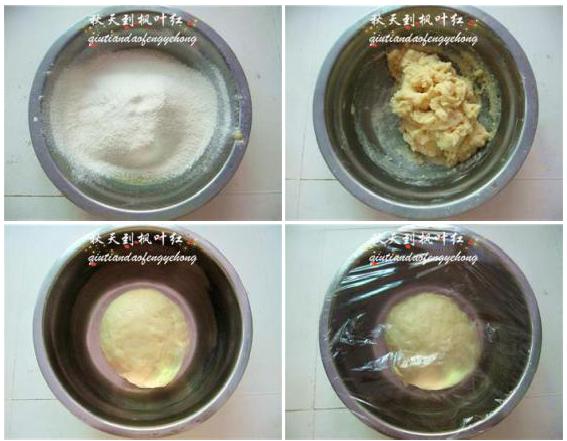
5. The foam powder and the low powder are mixed and then added to the fermented milk through a sieve;
6. Mixing and mixing
7. Then knead it into a dough, and if it feels too sticky, dip a little hand powder in it.
8. Cover with a preservative film and refrigerate for 30 minutes in the refrigerator;
Steps 9 to 12
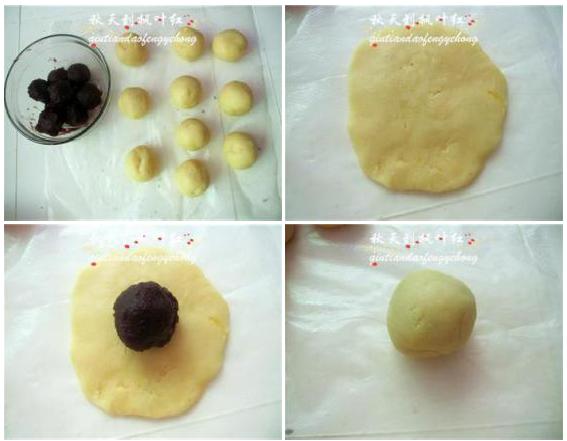
9. After removing from the refrigerator, cut into doses of about 20 g each and knead round; the prepared red bean filling is also divided into equal parts;
10. I printed it directly by hand.
11. Put it in a red bean paste.
12. The tiger's mouth is closed.
Steps 13 to 16
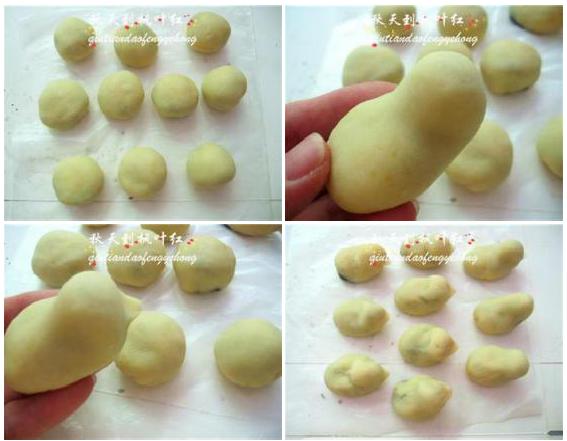
13. Make all the dough.
14. The tiger's mouth protrudes from the chicken's head;
15. And a sharp mouth;
16. Preheat the oven to 170°C.
Steps 17 to 20
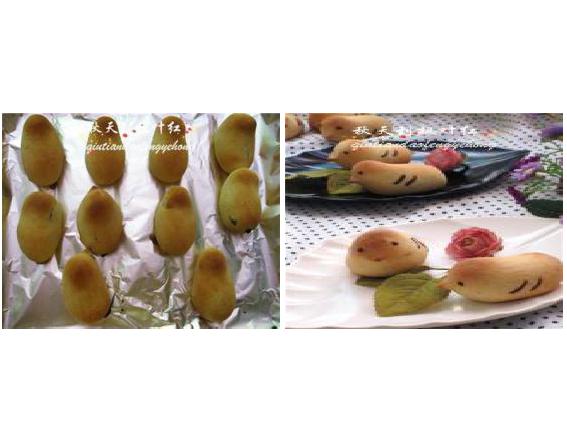
17. Put the whole thing on the grill and bake for 20 minutes until the surface turns brown.
18. Melting chocolate insulation; drawing eyes and feathers with toothpicks dipped in chocolate liquid;
Handy cooking tips
After mixing the dough, it must be refrigerated for at least 20 minutes, I refrigerated it for almost an hour and it didn't feel particularly sticky.If you touch your hands too much, it shouldn't be a problem to use a little hand powder.I'm going to weigh it, and there's a rough reference division, and the dough that comes out of the refrigerator is about 230 grams, divided into 21 grams of exactly 10 pieces.The temperature and time of the oven are adjusted according to the temperament of the oven, and I choose to cook at 165 degrees Celsius for about 18 minutes.It's set for 20 minutes, and for the next five minutes, you're looking at the surface, and when you see the color, you can just take it out.* Chocolate is used to make cakes, so it is better to paint with melted chocolate after baking, the temperature is high, the surface of the chocolate does not solidify well, it is recommended to paint with cocoa powder and then bake.
REACTION RECIPES
- Madeleine's cake
- Three inches of pumpkin cake
- Carrot-flavored paper cup cakes
- Orange cup cake
- Durian Swiss cake rolls
- Square-shaped cake
- Muffin cake
- A small cranberry cake
- Yoghurt and cheese mousse
- Yoghurt cake
- The original Shuffle
- Red sugar sponge cake
- The pineapple bag
- Yoghurt cake
- Shuffle cheese cake

 DESSERTS
  BAKING
  MAIN DISHES
  SNACKS
  CHINESE FOOD
  HOME
HOME