 DESSERTS
  BAKING
  MAIN DISHES
  SNACKS
  CHINESE FOOD
  HOME
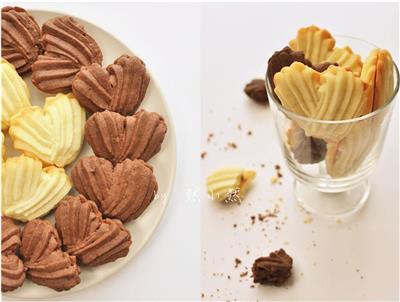
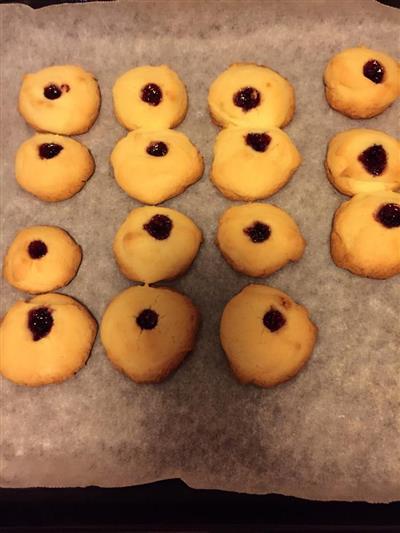
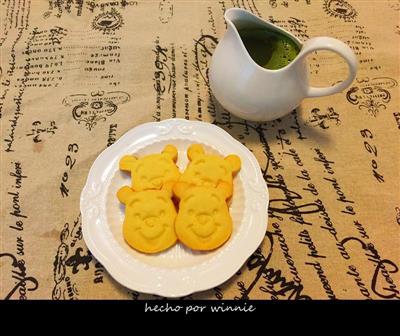
HOMECream-shaped biscuits
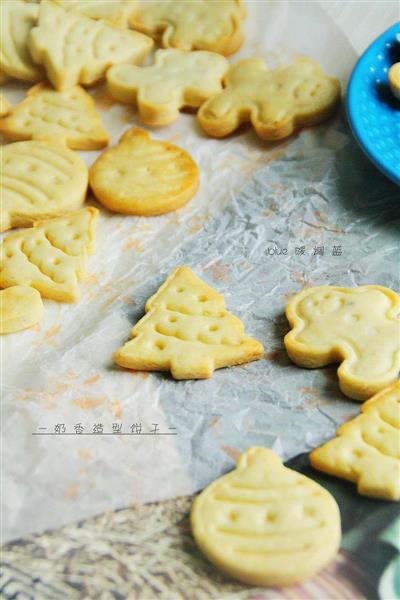
Cookies have always been a favorite food of children (and not only children), so today I recommend a very simple little cookie for you.This biscuit, with a milky flavor, has a very crisp taste.This crispy, crispy, crispy, crispy, crispy, crispy, crispy, crispy, crispy, crispy, crispyBecause it doesn't require the use of butter, it's relatively simple and quick to make.And during the baking process, the biscuits do not crack or swell excessively.Individuals think that using it as a base for sugar cream or sugar biscuits should be a good choice.Another thing is that the dough of this cookie is handy, easy to operate, easy to shape, and the final baking color is also beautiful. The square comes from Rainy Night Nina, said to be the most popular small cookie on the Japanese cookpad.Thank you for sharing the recipe! (for reference only, the following quantity can bake more than 40 small biscuits, I used the mold from the Christmas series)
WHAT YOU NEED
Ingredients
50 grams of fermented butter13 tablespoons of milk30 grams of skimmed milk powder (whole fat may also be used)140 grams of low-fat flour25 grams of cornstarch1/3 teaspoon of powderA little milk (for surface use)Vanilla sugar 40 grams (without common refined sugar and vanilla extract substitutes)1 teaspoon of salt (thumb and forefinger twisted)A little bit of salt (for surface brushing)
How TO MADE Cream-shaped biscuits
Steps 1 to 4
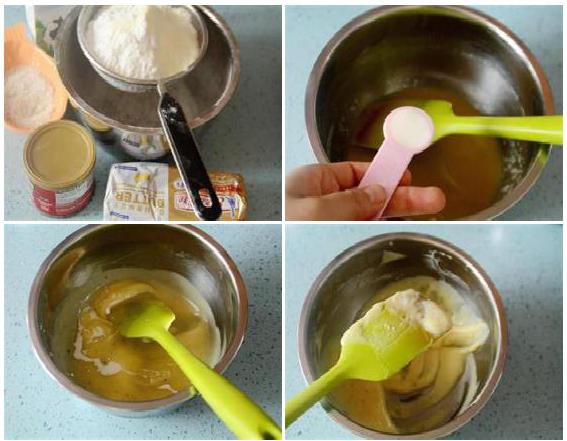
1. Please select all materials.
2. After mixing the powdered material (low starch flour, cornstarch, milk powder, foam powder) evenly, pre-screen it 2 to 3 times;
3. The butter is placed in a container, heated until dissolved, salt 1 and vanilla sugar are added, stirred evenly until the sugar is basically dissolved;
4. Add one tablespoon of milk in increments, each time waiting for the milk and butter to be mixed evenly, and then add the next one.
Steps 5 to 8
5. The final state of mixing;
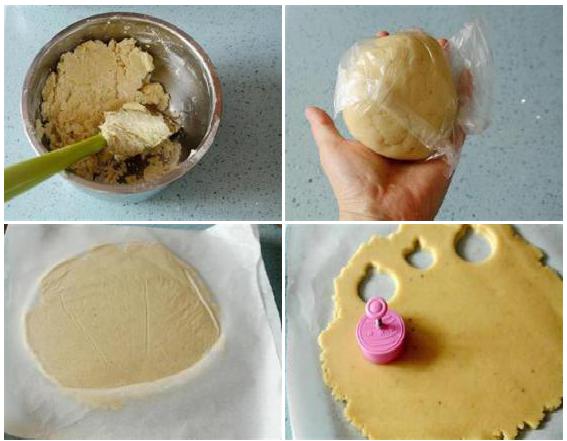
6. The powdered material is sifted into the liquid mixture and pressed with a scraper to a basically dry powder-free state;
7. Compressed into a dough, put in a bag, refrigerated for at least one hour or overnight;
8. Put a piece of baking paper on the board, put the dough on the oil paper, cover the surface with a piece of oil paper, and grind the dough into 3 mm thick slices;
Steps 9 to 12
9. Preheat the oven to 180 degrees.
10. The pattern is pressed with a biscuit mold;
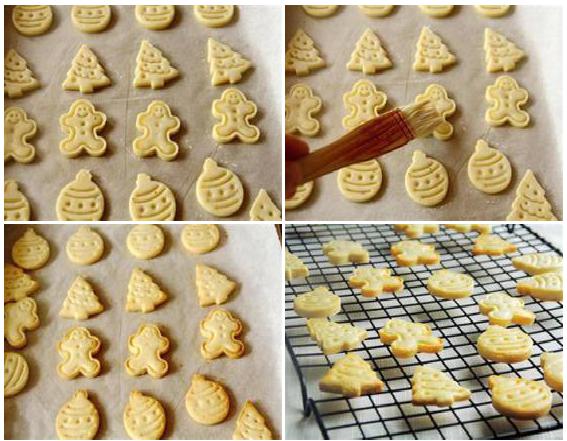
11. The biscuit embryos are then arranged on a grease-paper-covered pan;
12. Salt 2 mixed with milk 2, stir slightly until the salt dissolves, then rub a thin layer of milk + salt mixture on the surface of the biscuit;
13. After preheating, put the pan in the oven, medium, 175 degrees, up and down, bake for 12 to 15 minutes, until the biscuit edges are colored;
14. After baking, the biscuits are transferred to the drying net to dry and cool, so that they can be sealed and stored.
15.
Handy cooking tips
1. The powdered material must be screened in advance to ensure a uniform distribution of the powder.In addition, it is better to choose imported aluminum-free foam powder; 2. the milk and butter should be mixed thoroughly, and the final mixed liquid should be more viscous; 3. the dough should be solid, do not overwork.In addition, it is important to use a layering method, not rubbing; 4. After using the mold to carve the biscuit embryos, the remaining dough can be re-cut into thin slices, and then continue to press the shape with the mold.However, there will be a slight difference in taste, and the final cookie may be harder. 5. When baking the slices, it is best to bake them evenly, so that the baking time will be similar. 6. The specific baking time should be adjusted according to the actual situation.The edges of the biscuits are baked until golden yellow and can be eaten in the oven.If you wait until it's all colored, then it's very likely to be overcooked.After the biscuits are made, the surface can be decorated with chocolate or sugar cream.

REACTION RECIPES
- A small meal package
- Ivan the Terrible
- Cow horn bag
- Whole wheat meals
- Beef and bacon
- Bacon and cornbread
- Gingerbread
- Cabbage bread
- Purple peas and yellow bread
- Mini bags of pineapple
- Milk and raisin bread
- The stick is made into toast-like toast.
- Sesame meat loaf
- Old fashioned bread
- Strawberry cheese bread
MOST POPULAR RECIPES
- Flowing cakes
- Cinnamon cookies
- Sesame and walnut butter
- Cocoa beans
- Super lazy and crispy
- Protein silk balls
- Marble cookies
- Chickpeas and walnuts
- Protein and crispy sesame cake
- The egg.
- E-cigarette version of oil-free healthy cake
- Chocolate at will.
- Peanut butter and cookies
- Coffee, cheese and eggs
- Soft cookies
RECIPE TAGS:
-
50 grams of fermented butter13 tablespoons of milk30 grams of skimmed milk powder (whole fat may also be used)140 grams of low-fat flour25 grams of cornstarch1/3 teaspoon of powderA little milk (for surface use)Vanilla sugar 40 grams (without common refined sugar and vanilla extract substitutes)1 teaspoon of salt (thumb and forefinger twisted)A little bit of salt (for surface brushing)