 DESSERTS
  BAKING
  MAIN DISHES
  SNACKS
  CHINESE FOOD
  HOME
HOMERosemary wrappers
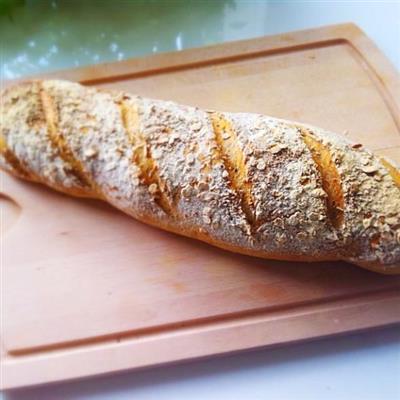
I don't buy bread anymore. Breakfast, Chinese bread is arranged. It's really good. It's not like the soft bread that's usually sold in the country.
WHAT YOU NEED
Ingredients
Rosemary (or any of your favorite herbs plus or without any) 2 tsp200 grams of medium or high starch flourWarm water (30-40 °C) 130 grams (the water absorption of the flour should be increased or decreased accordingly)4 grams of salt7 grams of yeast
How TO MADE Rosemary wrappers
Steps 1 to 4
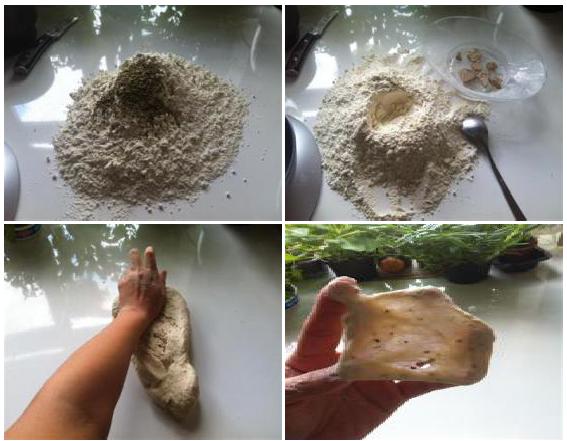
1. Weighing the materials, the flour, the salt, the rosemary crumbs mixed in piles, digging small pits in the middle.
2. Warm water dissolves the yeast, poured into the flour pit, and slowly mixed with the flour
3. The next thing you know, you're rubbing it, you're rubbing it, you're pulling it together.
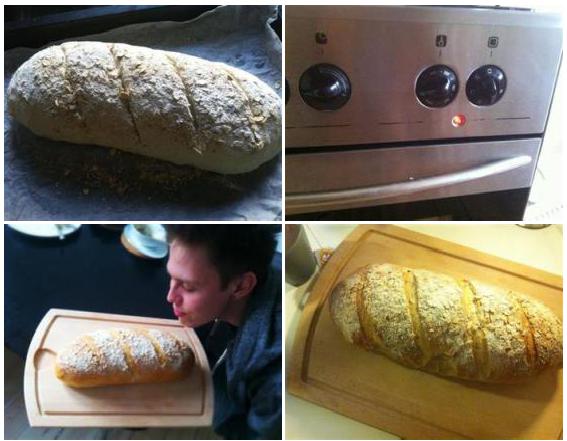
4. When the dough is smooth and stretchy, you don't have to knead it until it's fully expanded, as in the picture.
Steps 5 to 8
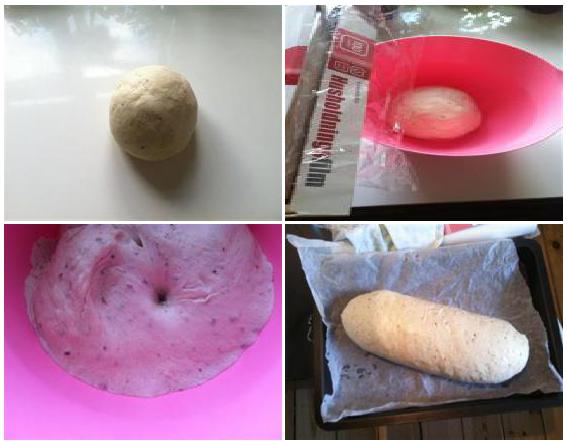
5. The next step is basic fermentation, rolling, and oiling the container.
6. Cover it with a preservative film and ferment it in a humid environment at about 25 degrees Celsius (here the temperature is low, I pour hot water into the oven in the oven, put it on the bottom, create a humid, warm environment for fermentation)
7. It's about one and a half hours after fermentation, and it usually depends on the circumstances, and sometimes I get two and a half times as big in an hour.
8. The inspection method is to dip your fingers in the dry flour, stick it into the dough, and if the dough does not bounce back, it represents fermentation.
Steps 9 to 12
9. If the rebound means that the fermentation is not in place, the fermentation must continue; if the whole dough sinks when the dough is punched, it means that the fermentation has been excessive.
10. - What?
11. - I couldn't wait to take a picture.
12. .
Steps 13 to 16
13. .
14. The fermented dough is exhausted, the dough grows elliptical, the dough is rolled up from the bottom, pay attention to the two sides to the middle, rolled into an olive shape, or any other shape. The finished dough continues to be placed in the same environment as the basic fermentation for second fermentation, the second fermentation time is not very long, about 40-50 minutes, again affirming, the specific operation of the specific situation.
15. P.S. This time I didn't roll it into an olive shape because I made 500 grams of flour, so I rolled it randomly and then I fermented it twice and then I baked it directly, making it look like a chopstick.
16. The picture next to it is of me baking an olive.
17. It's 1.5 times as big.
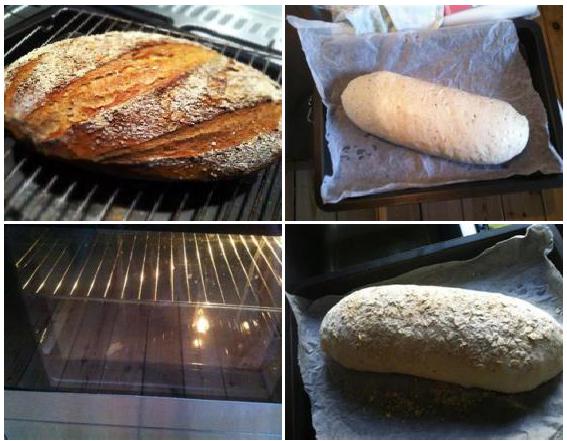
18. The oven is preheated to 250 degrees, and an empty oven is preheated at the bottom, during which time the packaging is cut.
19. I sift a thin layer of flour on top of the dough, so it's easier to cut, and it's decorative when it's baked.
20. (I also spread a layer of wheat flour on the surface of the bread before the sieve, purely decorative haha! With a sharp blade at a 45-degree angle, the blade sliced smoothly on the surface of the dough)
21. What it looks like after cutting
22. After the waiting temperature reaches the preheat temperature, quickly pour water on the bottom empty oven to create steam (don't underestimate this step, after creating steam, then in a high temperature and humid environment, the bread surface will quickly form that crispy outer skin) immediately close the oven door, open the door after 30 seconds, put the dough in another oven, put the layer on top of the oven filled with water, and then pour the remaining boiling water into the bottom oven.
23. Lower the oven temperature to 230 degrees.
24. Bake for 20 minutes, after 20 minutes take out the bottom plate with the water, then bake for 15 to 20 minutes.
25. Take it out and put it on the grill to cool it down, and then you can hear the crack in the bread, and the bread can really sing.
26. -
27. Regarding the preservation
28. As soon as the bread is cut, it starts to lose moisture, so you have to eat it again, don't cut it just because you're curious to see the structure.
Handy cooking tips
Step eight, if you have a baking stone board, it's better to use the baking stone board directly, preheat it together while it's preheating, and then slide the dough onto the baking stone board.

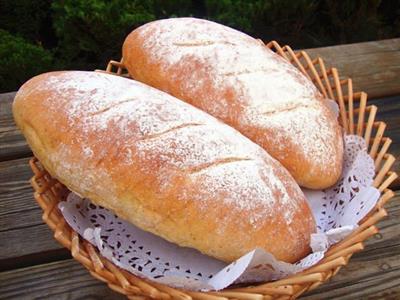


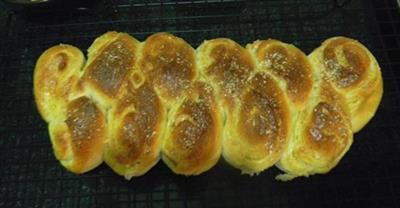
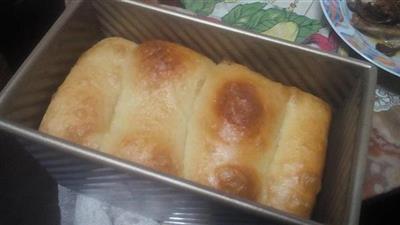
REACTION RECIPES
- Salted berries without oil
- Heart-shaped bread
- Whole wheat toast
- Onion cheese ham and salty stew
- Health and Wellness
- Meatballs
- Chinese version of the Xinjiang Great Rift Valley
- Soy sauce
- Red sugar dates
- The indictment
- The Little Monster of Bread
- 100% Chinese alcoholic milk toast
- Coffee and peaches
- The practice of making cranberry bread
- Red sugar walnut bread