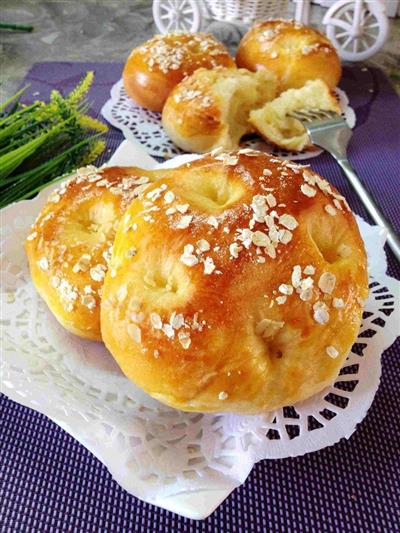
Cranberry bread rolls
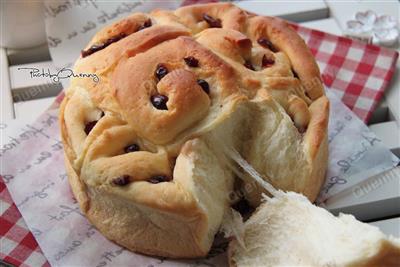
When I made it, I didn't think much about it, I just poured a lot of sugar and cranberries on it, and when I cooked it, I found out that the sugar would melt and spill out...However, although it's a bit of a hassle to pack it up afterwards, the baked bread is really good to eat. I love this dessert, what do you do? Ingredients: high starch flour 300g, fine sugar 48g, yeast 4g, egg juice 48g, milk 160g, salt 5g, butter 30g filling: fine sugar 30g, wine vinegar 75g, corn oil moderate, butter moderate
WHAT YOU NEED
Ingredients
High starch flour 300 grams48 grams of fine sugar4 grams of yeast48 grams of egg juice160 grams of milk5 grams of salt30 grams of butter30 grams of fine sugar75 grams of wine-stained cranberriesMaize oil in moderationModerate amount of butter
How TO MADE Cranberry bread rolls
Steps 1 to 4
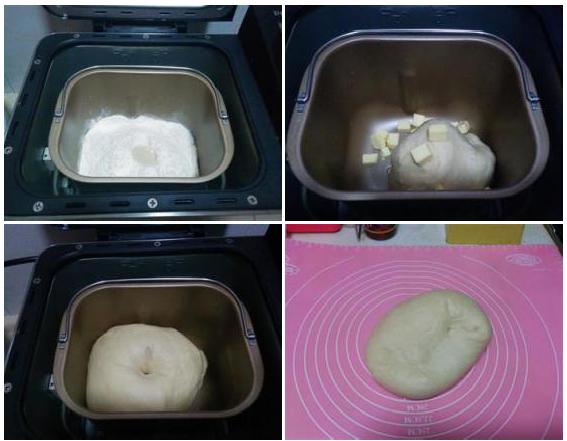
1. The main dough material, excluding butter, is placed in the container and the container is fixed in the container and the process of baking and wind bread is started, setting 750 g
2. Add butter at 2:50 and continue the process.
3. By 1:45 a.m., the dough base is fermented.
4. Take out the dough.
Steps 5 to 8
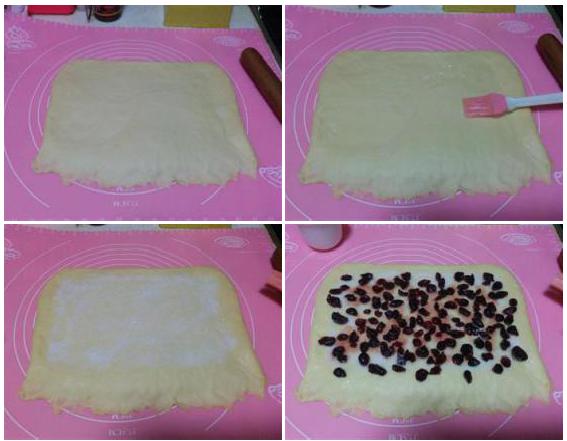
5. Then grow a square on the board, about 20 x 30 cm in size, paying attention to thin the bottom.
6. Brush a layer of corn oil on the surface of the blank (be careful to leave a gap on the edges)
7. Then spread the fine sugar evenly (be careful to leave a gap on the edges)
8. Finally, sprinkle the wine-stained cranberries on the surface (be careful to leave a gap on the edges)
Steps 9 to 12
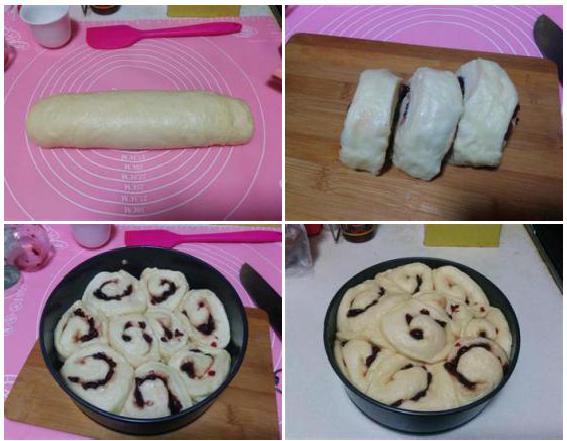
9. Roll the dough and seal it.
10. Cut to 9 paragraphs
11. Put in a thin layer of butter and put in a warm, moist place for a second fermentation.
12. About 1.5 times the size.
Steps 13 to 16
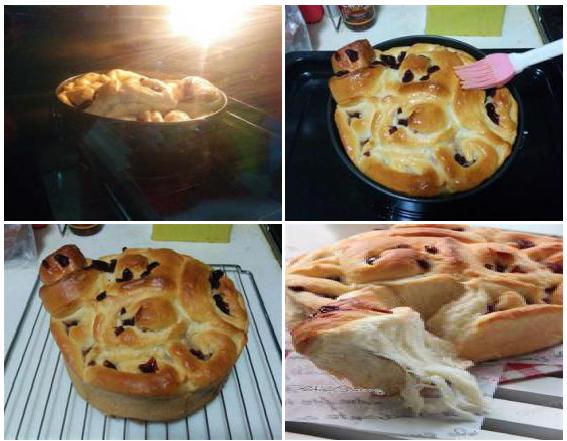
13. Lower middle layer into preheated oven 180 degrees 30 minutes
14. After baking, brush a layer of melted butter on the surface while it is hot
15. Dry it off.
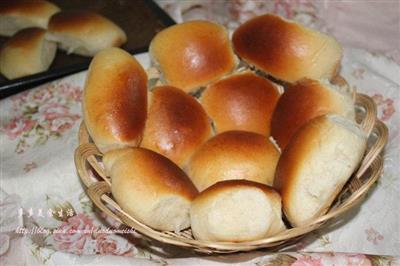
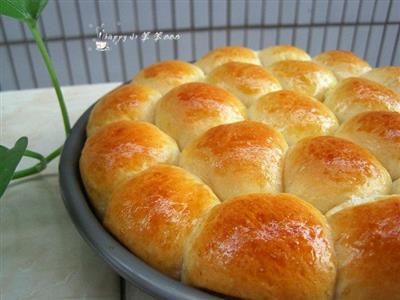
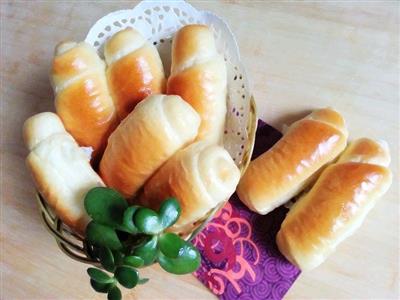
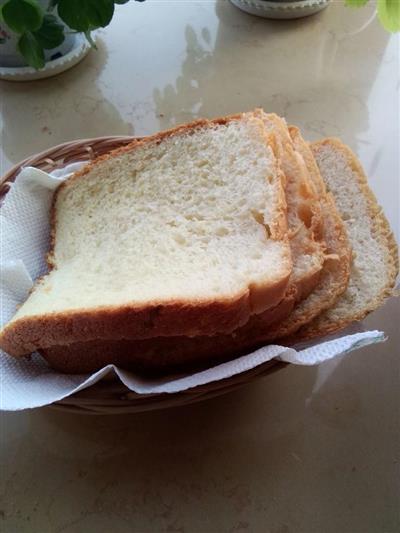
16. Map of the finished product
Steps 17 to 20
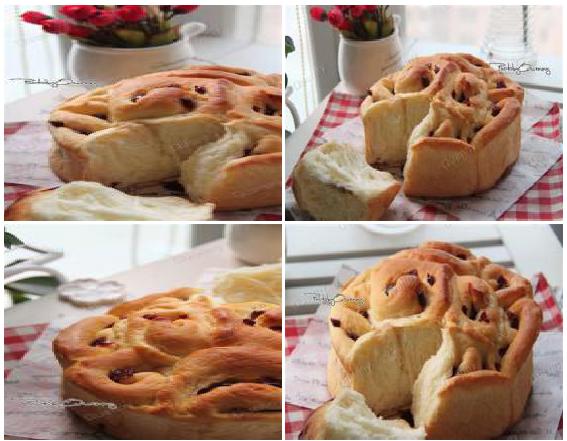
17. Map of the finished product
18. Map of the finished product
19. Map of the finished product
20. Map of the finished product
Steps 21 to 24
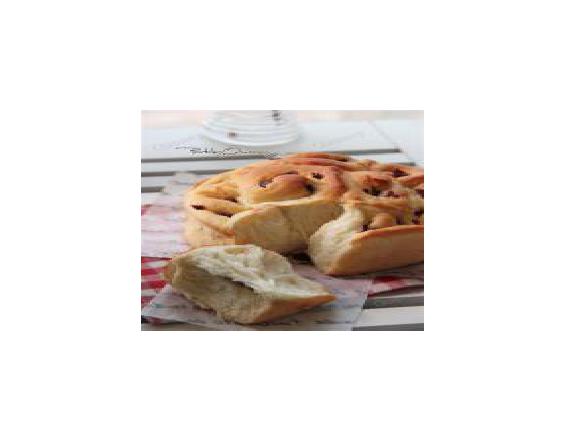
21. Map of the finished product
Handy cooking tips
1. I used the first half of the full process of the bread maker to complete the kneading and base fermentation part of the dough, which is a more conservative method; of course, you can also use a separate kneading process and then ferment, this time needs to be determined according to the state of the dough from the line; 2. When spreading various materials on the dough, be careful to leave the edge part, because in the process of rolling the material of the middle part will be squeezed to the edge.
REACTION RECIPES
MOST POPULAR RECIPES
- Cheese cake
- Purple toast
- Fresh orange mousse cake
- Starbucks banana cake in oil on canvas
- Onions and sesame seeds
- A bite of purple
- Apple pie
- It's called the Vanilla Shuffle.
- Eight hundred inches of mango yogurt and super-detailed steps
- The classic flavored cake - orange madeleine
- Cream toast in a bread machine
- Two flavors of toast
- Apple pie
- A small cake in a paper cup
- Plants and sunflower paper cupcakes

 DESSERTS
  BAKING
  MAIN DISHES
  SNACKS
  CHINESE FOOD
  HOME
HOME