 DESSERTS
  BAKING
  MAIN DISHES
  SNACKS
  CHINESE FOOD
  HOME
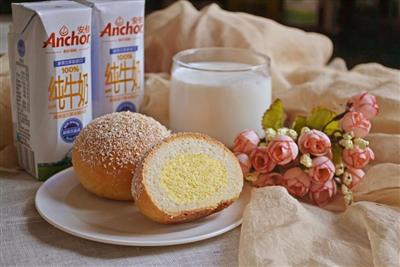
HOMEMilk and cream
Cooking doesn't really require a lot of skills, and when I first started learning how to bake, I strictly followed the recipe one by one, but sometimes I failed, because taking into account climate change, the temperature of my own oven, the taste of my family and so on, will affect the finished baked product, so slowly, I adjust more based on my environment and the taste of my family, I often find surprises.Life is like that, there are no absolute standards for anything, you have to adjust with your heart, and the mood of that moment of small surprise is incomparable.
WHAT YOU NEED
Ingredients
High starch flour 180 grams40 grams of low-fat flour8 grams of milk powder2.5 ml of salt45 grams of fine sugar1 gram of eggs5 grams of dry yeast (high sugar resistance)110 grams of waterButter (without salt) 30 g
How TO MADE Milk and cream
Steps 1 to 4
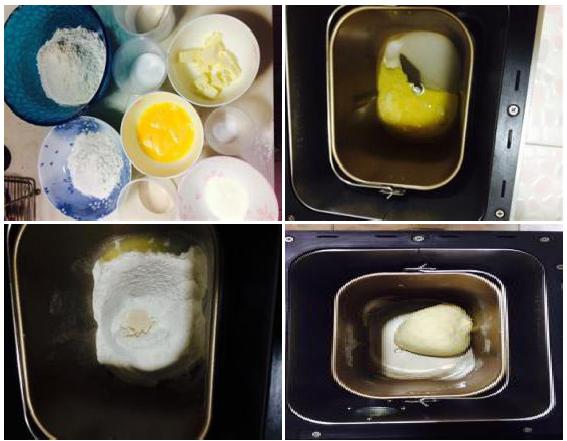
1. A collection of all things.
2. The eggs are made into a liquid, poured into two-thirds of the egg liquid, and the rest is left to the last brush of the bread skin.
3. Put the salt and sugar separately in the corners.
4. High-quality flour, low-quality flour, milk powder, screening, packaging in barrels, finally digging a small hole in the middle of the flour, putting the yeast in it and covering it with flour.
Steps 5 to 8
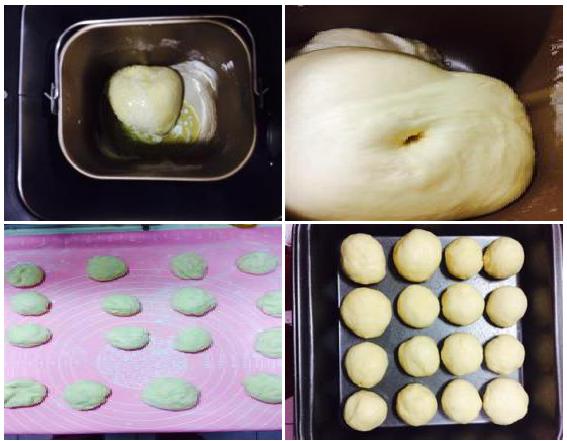
5. Cover the top with a bucket lid, select and process for 20 minutes of stirring, this is what it looks like after the first stirring.
6. The butter is melted into a liquid and then placed in the stirred dough, at which point the butter is added so as not to affect the taste of the bread.
7. After adding butter, cover the lid, select and face and fermentation procedure (1.5 hours), the fermentation is good after the state is like this, presented twice as big, punch into a hole will not shrink back.
8. Everyone's bread maker is different, if it's a separate dough and fermentation, you can choose a dough process (20 to 30 minutes), and then you can choose a fermentation process (1 hour).
Steps 9 to 12
9. Take out the dough, it's thin and soft, and put it on your front hand so that the dry flour doesn't stick to your hand.
10. Take it out, rub it for five minutes, drain the bubbles inside, divide it into 16 pieces.
11. When kneading and separating the dough, the bowl is dried with high-strength flour on the edge and a little flour is constantly applied to the hands to prevent sticky hands and boards.
12. Each dough is smoothly kneaded and placed in an eight-inch grill, or a layer of tin foil, or a layer of corn oil, as I did.
Steps 13 to 16
13. Don't worry about the middle being too close, the rows are baked together.
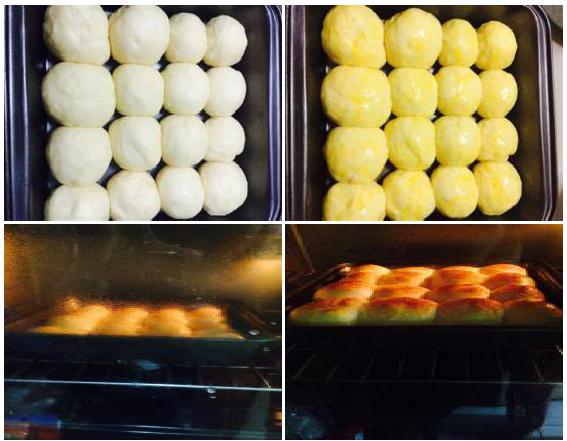
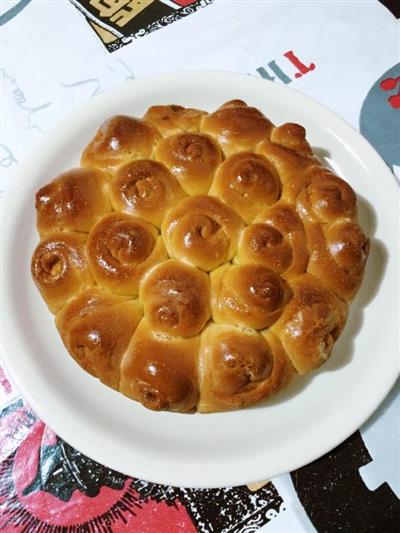
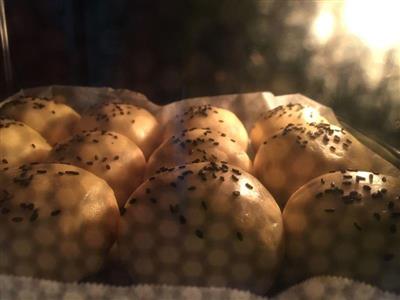
14. This is what the dough looks like after the last fermentation, it turns white and fat.
15. The method is: put in the middle layer of the oven, at the bottom with a large bowl fill a bowl of boiling water, close the oven door, wait 40 minutes and you will be fine.
16. This creates a suitable environment for humidity and temperature, and some people ask if you can put it directly on the heater? No! This is not possible, the dough will dry out and crack.
17. Brush the dough with the eggs that have just been left over, and the eggs are golden.
18. Put it in the bottom layer of the oven (remember, my oven has a high temperature, so choose 160 degrees for 25 minutes).
19. This is after 15 minutes of baking, the surface is golden yellow, at this time turn off the fire just use the fire, set the temperature to 150 degrees.
20. Adjust the temperature of your oven.
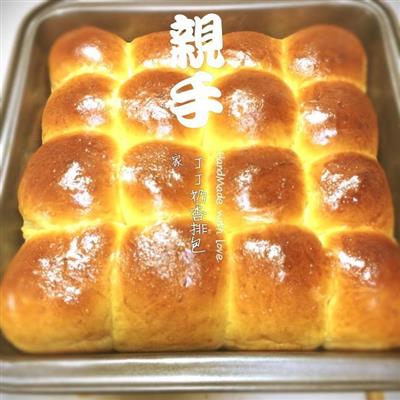
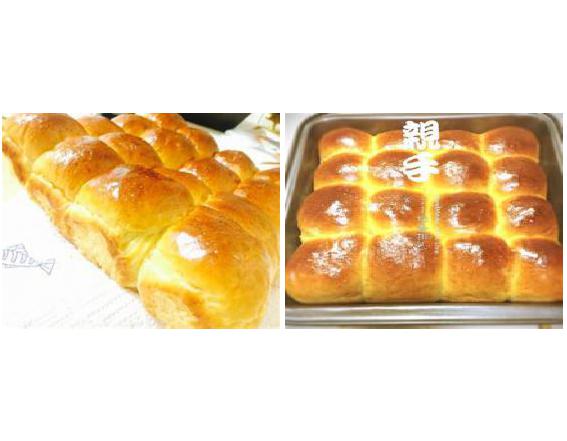
21. OK! Take it out and look beautiful.
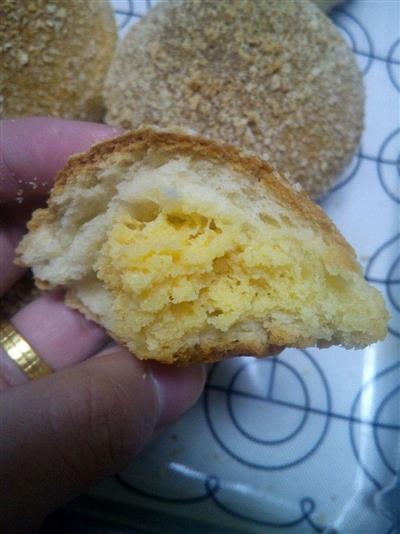
22. Take the bread out and eat it cold, don't put it in the fridge, keep it at room temperature, it's very soft.
23.
Handy cooking tips
When making it, take into account the seasonal factors, as well as the general temperature of the house for fermentation, put a small bowl of high-strength flour on the side when kneading the dough, because this bread is more moist and soft and easy to stick to, when bread is divided into small portions, some flour does not stick to the hand.The temperature of the ovens is not the same, everyone adjusts it themselves, in the last 5-10 minutes pay attention to see, when the surface is dark golden pay attention to adjust the temperature to avoid surface baking paste.


REACTION RECIPES
- Tea and cookies
- Sweet peanut butter pie
- Baked almond cake
- Eggs and cookies
- High in calcium soda biscuits
- Coconut cheesecake with fennel
- Cream and soda biscuits
- Red sugar almond cookies
- Coconut cranberry cookies
- A spoonful of cookies
- Roasted fruit
- Fingers crossed
- Red sugar walnut cookies
- The little head of a monkey
- Margaret's cookies
MOST POPULAR RECIPES
- Homemade toasted pizza
- The pineapple pizza
- Italian cod pizza
- Vegetable and shrimp pizza
- Air frying pizza
- Pizza with chicken and cashews
- The bacon pizza.
- The chicken pizza.
- A small batch of corn ham
- The toast pizza.
- Chicken legs from Orleans
- Pizza on a plate
- Pizza in a non-threaded version
- Fresh shrimp bacon
- The golden Orleans chicken pizza