 DESSERTS
  BAKING
  MAIN DISHES
  SNACKS
  CHINESE FOOD
  HOME
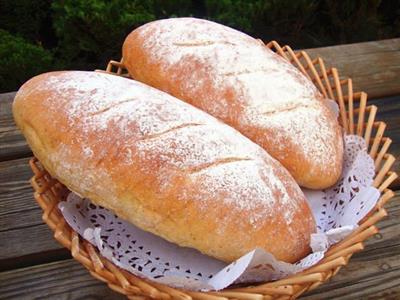
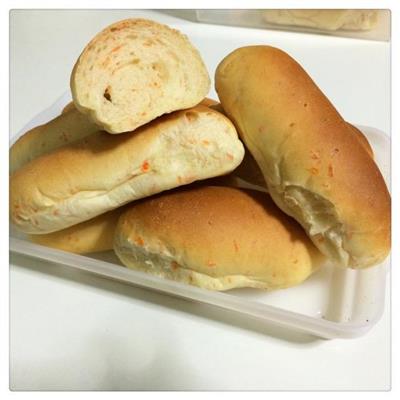
HOMEFive pieces of bread
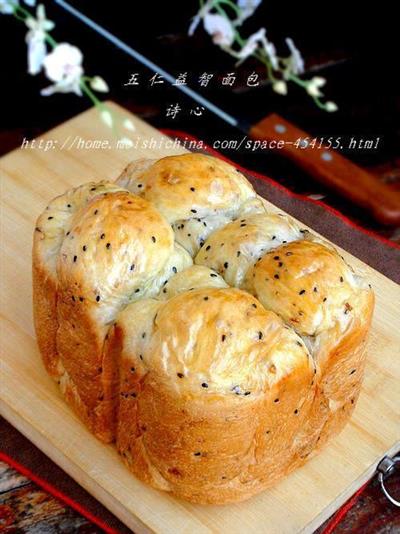
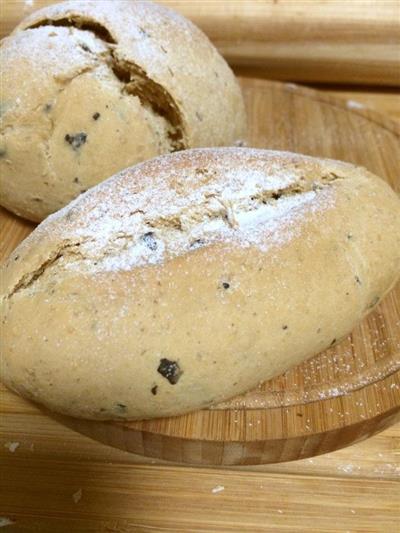
Once upon a time, I was a person who visited a bakery every day, and since I became a chef, I gradually learned to bake, joining the ranks of healthy home baking.Making all kinds of bread for my family every day, baking, brings me a lot of fun, satisfies me, makes me happy; baking, allows my family to taste more love, get more health.I like to listen to the sound of the baking machine every day, I like to be happy in the kitchen, I like to watch the wonderful process of the dough growing slowly, I like to enjoy the feeling of the harvest when the bread comes out of the oven, I prefer the endless fun of baking.A little bit of flour, a little bit of eggs, a little bit of sugar, and a little bit of patience.In return, the house is filled with fragrance, the harvest is priceless health, and the carriage is full of sweets.In today's world where everyone is paying more and more attention to health, all kinds of preservatives and additives are worrying us, for a healthy body and for a better life, let's use our own hands to raise a big green umbrella, make delicious meals for our families, healthy bread.Wheat flour and nuts, which are not often eaten in our three meals a day, but their nutrition cannot be ignored, so I made a five-grain bread that not only fills the stomach but also fills the brain, with peanuts, sesame seeds, walnuts, almonds and peas.This is the benefit of home baking DIY, as long as you take care of yourself, you can make a variety of nutritious and healthy breads.
WHAT YOU NEED
Ingredients
Liquid: high powder 100 gramsLiquid: 100 grams of fresh waterLiquid: 1 g of dry yeastDough: 180 grams of flourDough: 35 grams of clear waterDough: 50 g of whole egg juiceDough: moderate amount of sugar 40Dough: 3 grams of dry yeastDough: liquid in moderationDough: 3 grams of saltDough: 30 grams of butter8 grams of peanuts8 grams of almondsWalnuts 8 grams8 grams of coconut8 grams of black sesame
How TO MADE Five pieces of bread
Steps 1 to 4
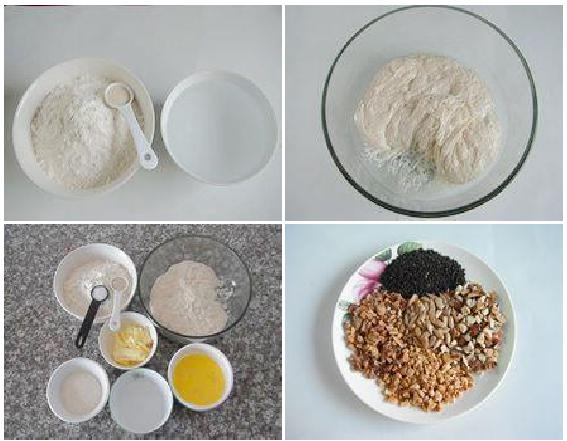
1. First, make the liquid.
2. Graph of liquid raw materials: high-powder 100 grams of pure water 100 grams of yeast 1 grams
3. All liquid ingredients are mixed, stirred evenly, covered with a preservative film, fermented at room temperature for 1 hour, refrigerated for more than 16 hours.
4. (My fridge is 24 hours old)
Steps 5 to 8
5. A map of the ingredients used to make the dough.
6. Figure 5: Peanuts, black sesame seeds, sweet almonds, walnuts, and cucumbers
7. (All ingredients are cooked, including peanuts, almonds, walnuts, cooked and crushed into coarse grains)
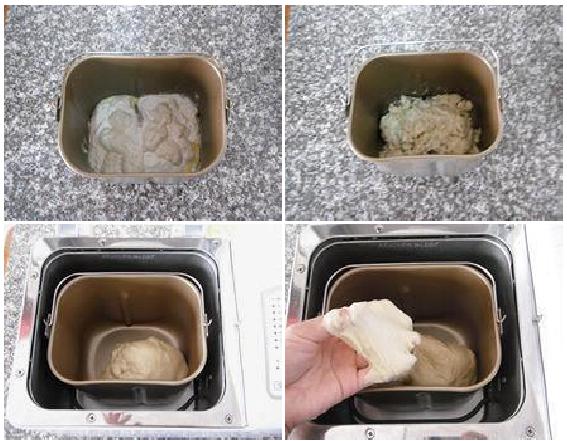
8. Put all the ingredients of the dough in the order of the liquid and the powder, put them in the packing machine in order, put the yeast on top, avoid direct contact with the salt.
Steps 9 to 12
9. The ingredients are mixed with smooth chopsticks to a dry powder-free state.
10. (This is done to save time in the baking machine, or you can skip this step.)
11. Start a baking machine and a dough function.
12. (One face-to-face session is 15 minutes)
Steps 13 to 16
13. After the kneading process, take a small piece of dough to test, at this point the dough can support a thicker and rougher dough, in the expansion stage.
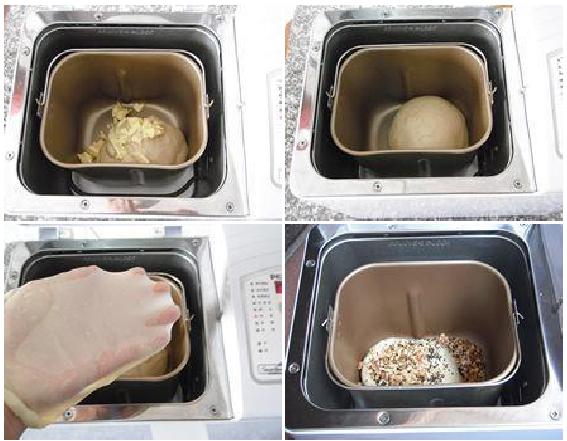
14. Add pre-softened butter.
15. (Every time I'm going to make bread, I'm going to soften the butter, and then I'm going to weigh the other ingredients, and then I'm going to do a doughing process, and by this time the butter is almost softened.)
16. Continue to initiate one face-to-face procedure (15 minutes), then initiate a third face-to-face procedure, and then face-to-face for another 5 to 10 minutes.
Steps 17 to 20

17. (This time the dough, the third time I spent five minutes, depending on the state of the dough)
18. Take a piece of dough and test it to see if it can easily withstand the very thin membrane of the glove, at which point the dough has reached its full stage and can be used to make toast.
19. Add the dried grains.
20. After 1 to 2 minutes, the dough is completely wrapped in the kernel and the dough can be manually closed.
Steps 21 to 24
21. Cover the preservative film and start the fermentation function of the bread machine, fermenting to 2 to 2.5 times the original dough.
22. (At this point, dip a little dry powder in the dough and poke a hole in it so that it doesn't shrink or collapse.)
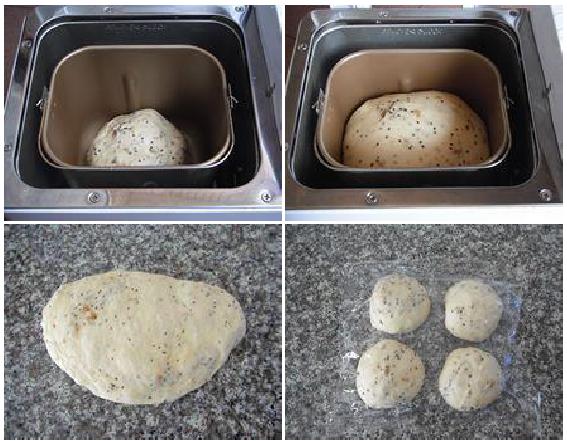
23. The fermented dough extracts the exhaust.
24. On average, it is divided into four portions, rolled in a circle, covered with a preservative film, and awakened for 15 minutes.
25. Take one, divide it into three equal parts.
26. It's time to grow up.
27. Woven in a braid.
28. Fold it three times, squeeze the joint, and then put it in the package.
29. Do all four doughs in turn, and then put the tin paper on the bread.
30. (
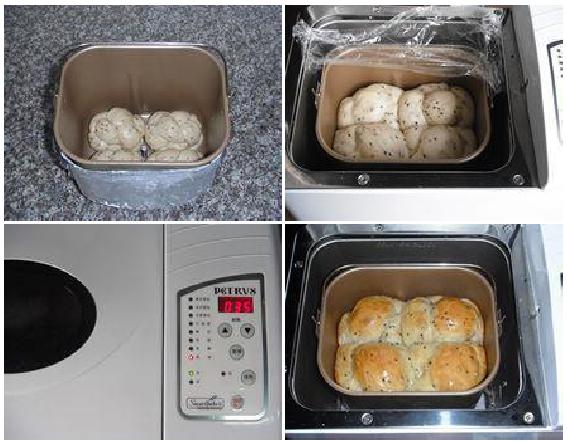
31. Cover the preservative film, put it in the wrapping machine, start the fermentation function, ferment to twice the original size, remove the preservative film, brush a layer of egg juice on the surface.
32. Start the baking function of the bread machine, set the time to 35 minutes, and select the color of the bread.
33. After 15 minutes, turn on the bread maker and quickly remove the tin paper from the bread bowl.
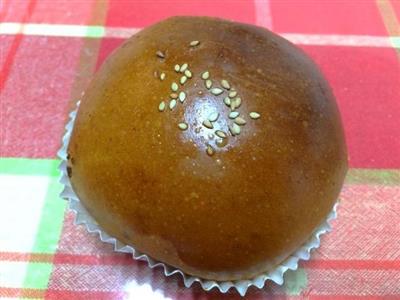
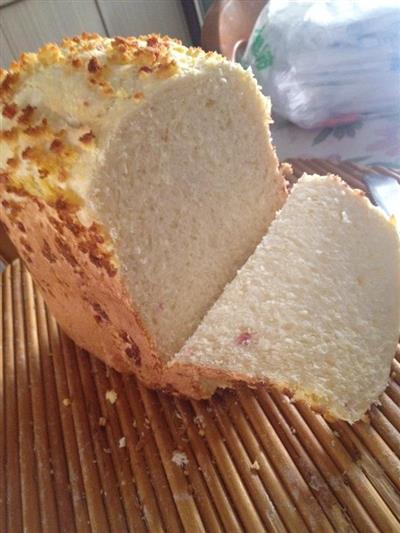
34. Roasted bread.
35. (When cooked and dried in a baking net to a comfortable temperature, put in a freezer box or freezer bag)
Handy cooking tips
Poetry: The reason for the tin paper on the bread bucket is because the heating pipe of the bread machine is on the four walls, if the color is light when baking, the baked bread is just the right color around, but the surface is lighter.If the color is chosen, the surface of the bread will be just right, and the color of the four walls will be a little too heavy.So when you're baking, you can wrap a layer of tin paper on top of the bread bowl, and then you start baking, and after 15 minutes of baking, you take out the tin paper and you continue baking.(The tin paper here is the same as the tin paper added after baking bread in the oven.)It's good for preventing bread from over-coloring, so the baked bread is just right on the walls and on the surface.However, if you prefer a lighter color, you can remove the tin paper after 20 minutes of baking.On the other hand, if you prefer a darker color around the bread, you can reduce the time it takes to wrap the tin.In addition, the amount of bread and the time of baking vary, depending on the specific situation.

REACTION RECIPES
- Cranberry cookies
- Chocolate chip cookies
- Margaret's cookies
- Cinnamon cookies
- Cinnamon and cranberry biscuits
- Egg and sesame cake
- Fresh mint butter biscuits
- Milk and cookies
- Sugared biscuits and cotton candy
- Cranberry cookies
- Egg whites
- The cookie.
- Butter and biscuits
- The cranberry biscuit
- Rum and coconut biscuits
MOST POPULAR RECIPES
RECIPE TAGS:
-
Liquid: high powder 100 gramsLiquid: 100 grams of fresh waterLiquid: 1 g of dry yeastDough: 180 grams of flourDough: 35 grams of clear waterDough: 50 g of whole egg juiceDough: moderate amount of sugar 40Dough: 3 grams of dry yeastDough: liquid in moderationDough: 3 grams of saltDough: 30 grams of butter8 grams of peanuts8 grams of almondsWalnuts 8 grams8 grams of coconut8 grams of black sesame