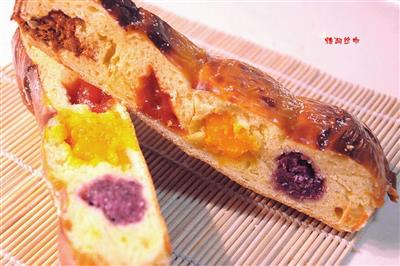
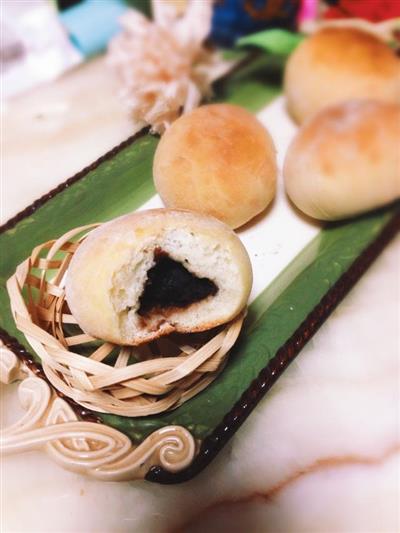
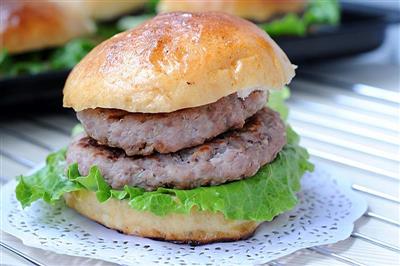
Long slices of bread
WHAT YOU NEED
Ingredients
150 grams of high-quality flour40 grams of low-fat flour30 grams of egg juice (added to the dough)20 g of white sugar2 grams of salt2.5 grams of yeast18 grams of butterAdequate waterModerate amount of black sesame (decorative surface)Egg juice (moderate and colored)
How TO MADE Long slices of bread
Steps 1 to 4
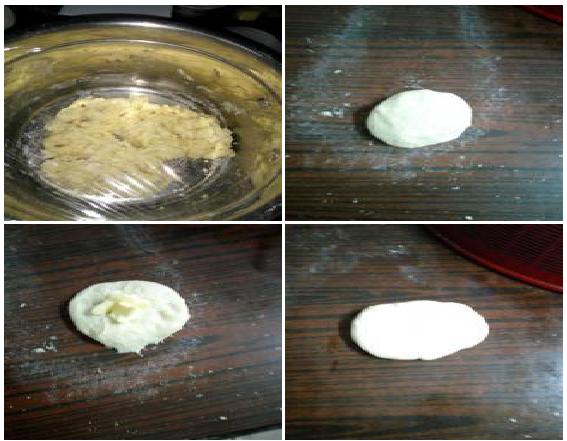
1. High starch flour, low starch flour, white sugar, salt, yeast, egg juice are poured into a stainless steel bowl, then stirred with a chopstick, then start adding water, if you do not know how to handle the amount of water, then add water several times, add one stirring once, until after adding water you can stir the powder in the bowl into blocks.
2. (I forgot to take the first picture.)
3. This one was made from cow horn, but this one has a little more water.
4. The pan is then covered with a preservative film and placed in the refrigerator for 20 minutes to form a paste.
Steps 5 to 8
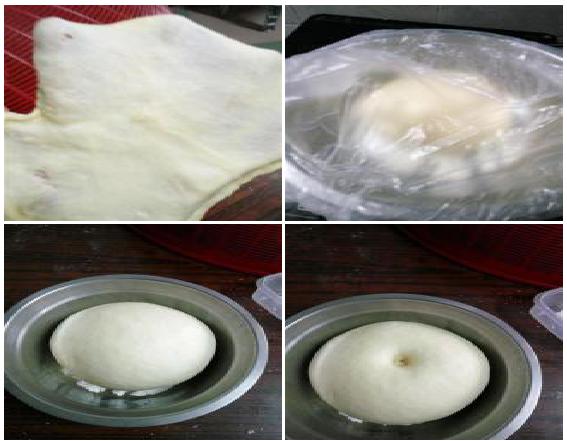
5. The pot is then removed from the refrigerator, and the coarse dough is removed, and the dough is rolled, rolled, rolled, rolled, rolled, rolled, rolled repeatedly, forming a smooth dough.
6. This is when you take a small piece of dough out and stretch it out, and you can pull out a small thin film, and then you can add butter.
7. Add butter, and the whole dough will crack like cotton at first, but keep rubbing and rubbing, and when the butter is absorbed, the hands will become very clean, the table will also be clean, and the dough will become softer.
8. It's like this.
Steps 9 to 12
9. (Photo slightly reflected)
10. Gloves and gloves
11. (Although it's not very standard -_-||, the finger part is still transparent, and the palm is bad.)
12. I have an idea of my own (but I don't know if it's true or not), that when we take a small piece of dough, it's easy to get a thin film.
Steps 13 to 16
13. Then take a large piece of dough and pull it out of the glove membrane, but it requires a certain amount of dexterity. If the dough is not stretched evenly during the stretching process, it is easy to have the result that the thick part of the glove membrane is still stretchable.
14. So it takes skill, it takes constant practice, to make a glove that looks good, but I think my idea is probably wrong.
15. Because I've seen someone else's glove wrapper in a video, and it seems to be very resilient, and it doesn't seem to be that easy to tear), and I'll learn more about that in the future.
16. What's going on?
17. The next step is the first fermentation of the dough.
18. Place in a warm place until the dough is doubled in size.
19. That's it, fat white guy.
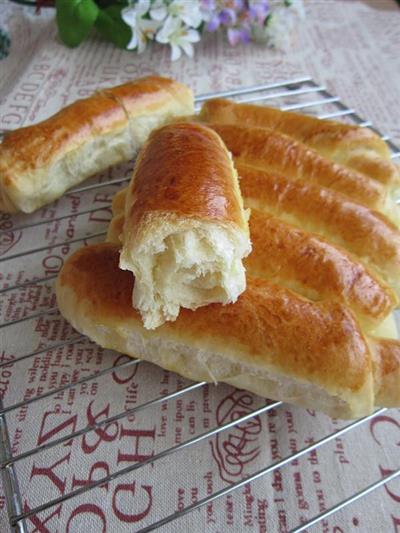
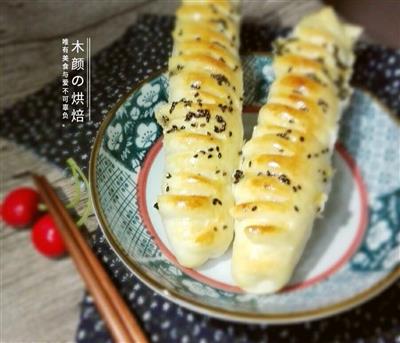
20. If it doesn't bounce, it's already fermented.
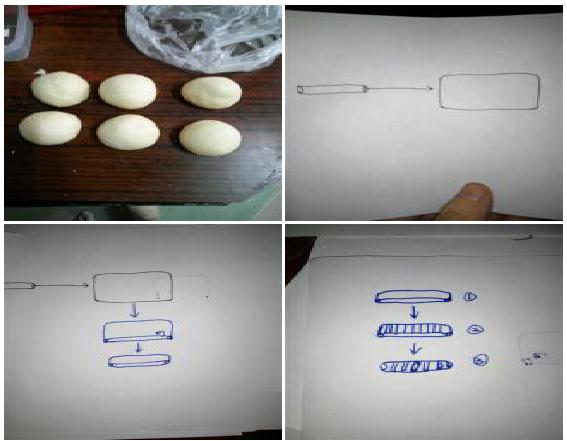
21. This recipe consists of about 330 grams of dough, divided into six pieces of about 55 grams each, kneaded in a circle, ready to be formed.
22. The spherical dough is rubbed into growth strips, then rolled horizontally and vertically with a doughnut stick, becoming a rectangular doughnut.
23. The rectangular panel is then rolled up from the bottom, not fully rolled, leaving a small part of the panel exposed on the outside.
24. Use a white cutting board to cut the bare sheet (1) into a single piece.
25. For example, if you put a good piece of dough on top of it, and then gently press it against the bottom of the long striped dough, it will form a 3 (because the cross-sectional area of the long striped dough is larger than the circumference of the striped dough, so the distance between the striped dough that forms 3 and 3 is not as compact as the distance between the striped dough that forms 2, it is also good to look at).
26. )
27. Ha, speaking of the end, the temperature of the oven is still determined by your own personality.
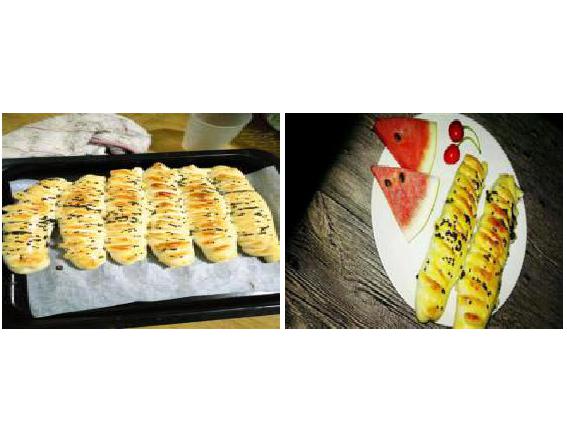
28. This is the finished product, which is packaged and glued together after a second fermentation.
29. Then I carefully tore it open.
30. Tear it up and take a picture.
REACTION RECIPES
- Red sugar sponge cake
- Cake with sugar
- Cake with milk and vinegar
- Cherry cake rolls
- Powdered yogurt birthday cake
- The cake machine is small.
- A sour-sweet, sugar-sweetened orange liqueur
- Doughnuts
- Yoghurt cake with cranberry
- Yoghurt cake with cranberry
- A cup of tiramisu
- The Genoese cake
- Moose cup cake
- Fruit cake with cream
- Original flavored cake
MOST POPULAR RECIPES
- Don't throw away the rest of the tofu.
- Tea cakes
- Margaret and the Cabbage Patch
- Margaret, please.
- Zero failure, Margaret and the biscuits
- Candy cookies
- Cranberry cookies and chocolate cookies
- Egg white biscuits
- Cranberry cookies
- Lemon cookies
- Baby toothbrush
- Chocolate chip cookies
- Walnut cookies
- Margaret, please.
- Arabic toothpaste

 DESSERTS
  BAKING
  MAIN DISHES
  SNACKS
  CHINESE FOOD
  HOME
HOME