 DESSERTS
  BAKING
  MAIN DISHES
  SNACKS
  CHINESE FOOD
  HOME
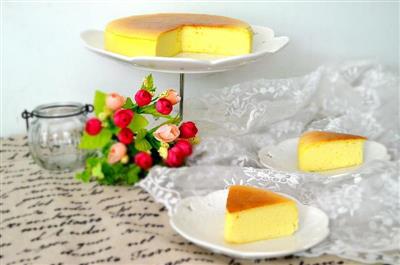
HOMERed velvet cakes
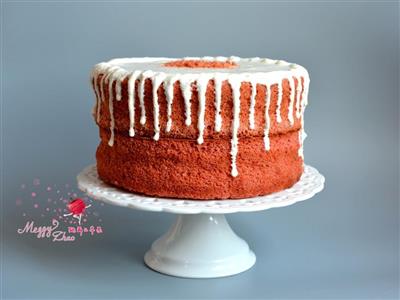
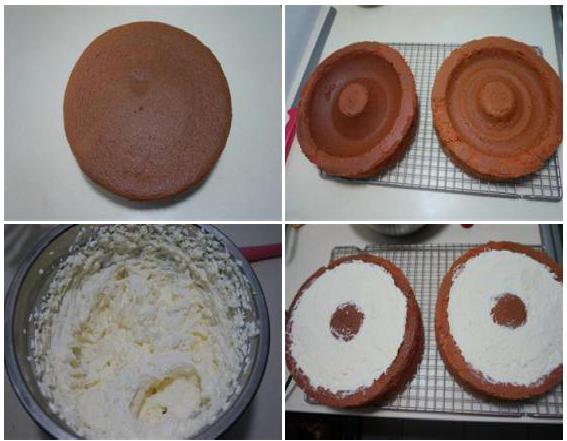
It's been a long time since I've had red velvet cake.Today I made this red velvet cake with this special mold.Red is the color of red rice pudding.I didn't put too much, I just wanted the slightly red pollinated color, so I personally think this color is just right.The cake itself was already very sweet, so I used homemade raw yogurt to make the dough.At first glance, it looks like light cream, but it's refreshing to eat.The material in Figure 1 below is the entire main ingredient of the cake, but since the oven can only bake one at a time, during the operation, I show only one of the cakes.The other cake is made the same way and in the same amount.
WHAT YOU NEED
Ingredients
60 grams of shelled eggs 10260 grams of cake flour200 grams of white sugar100 grams of butter80 grams of milk10 grams of red beans250 grams of cream filling150 grams of filled butter20 grams of white sugarA moderate amount of homemade raw yogurt on the surface
How TO MADE Red velvet cakes
Steps 1 to 4
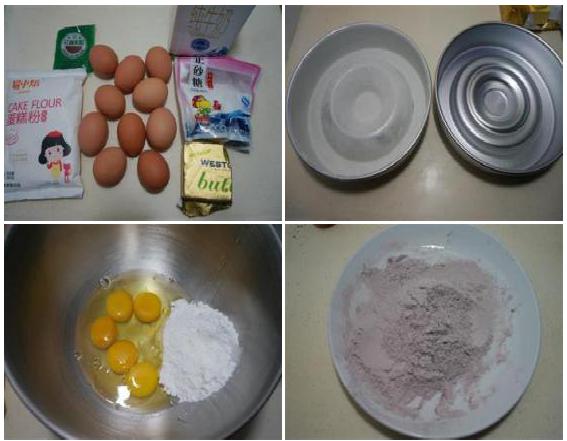
1. All the ingredients for the two cakes are ready.
2. The inner wall of the mold is coated evenly with butter, then a layer of flour is applied and stored in the refrigerator (butter and flour are out of proportion)
3. From this step to the end of the cake body, it's the amount of a cake: five eggs in a bowl, add 100 grams of white sugar, white sugar sponge white sugar is fine, my sugar is not enough, use sugar powder instead
4. 130 grams of cake flour and 5 grams of red cabbage flour mixed together
Steps 5 to 8
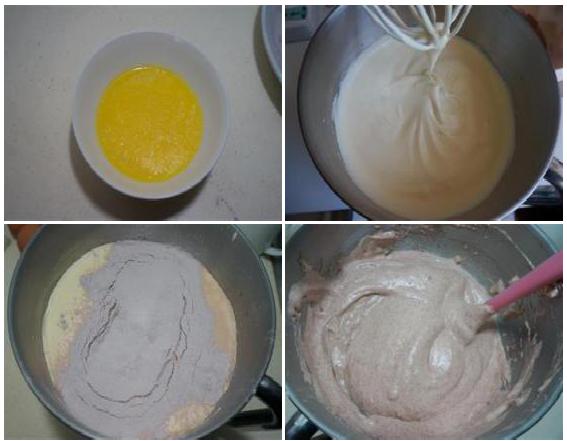
5. 50 grams of butter and 40 grams of milk in a bowl, melted separately from the water or melted at low temperature in a microwave, and kept in hot water to prevent the butter from condensing again
6. The eggs are released with a blender, lifting the head of the egg, and the trace of the egg drops does not disappear for 10 seconds.
7. Re-screen the powder into the egg paste; at this point the oven begins to preheat at 150 degrees.
8. Mix the flour and the dough evenly by stirring up and down, but do not stir in circles, otherwise it will melt immediately.
Steps 9 to 12
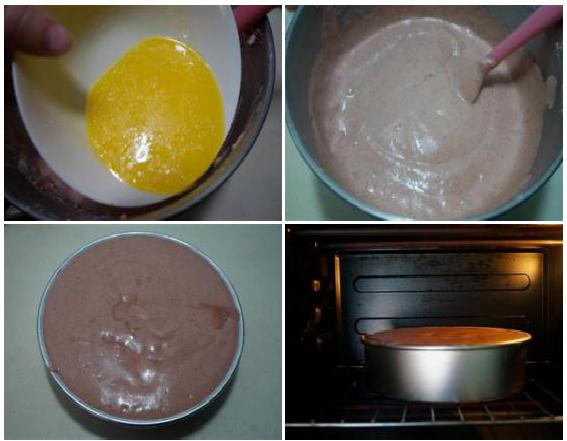
9. Slowly pour the melted buttermilk into the walls of the basin
10. The mixing method is used again to mix it evenly, the direction of mixing can be used in the direction of
11. Pour the delicate, shiny cake paste into one of the molds, shake it slightly, and blow out the bubbles.
12. I put it in the middle of the preheated oven, and my cake was in the middle of the bottom, 150 degrees above and 140 degrees below, and I baked it for 60 minutes, and it felt a little bit hot after it came out, so I had to adjust it according to the actual condition of the oven.
Steps 13 to 16
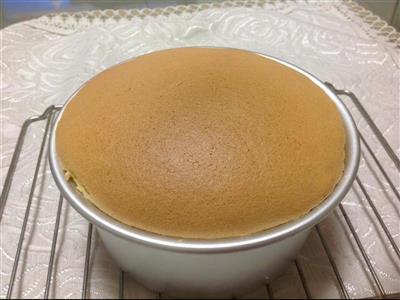
13. After cooking, shake a few more times, and then put on a drying rack to dry naturally, without turning it over.
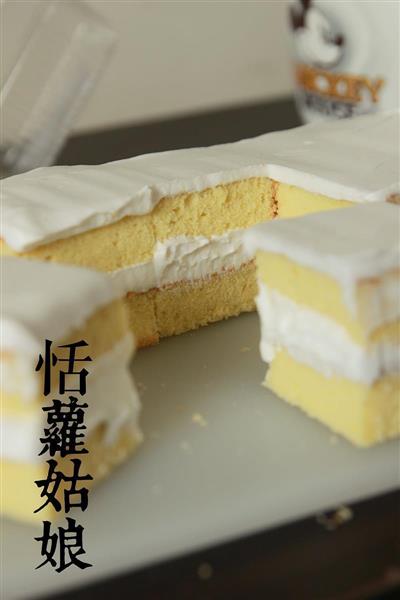
14. When the two cakes are all done, remove the mold, cut the smooth surface with a knife, and then stack the two cakes together to fix the shape
15. After the softened butter is smoothed, add 20 to 30 grams of white sugar to the light cream that has been refrigerated for more than 10 hours.
16. Fill the cream in the cake mold and smooth it.
Steps 17 to 20
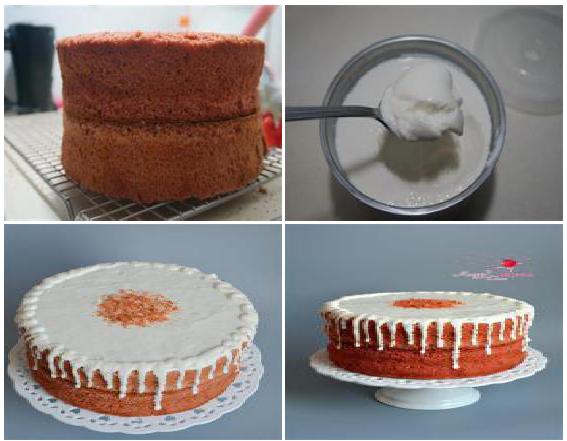
17. Separate the top and bottom slices, couple the two cakes, and refrigerate for more than an hour.
18. You can add white sugar to the yogurt depending on your taste, or you can use it to make a liquid light cream dough.
19. I took into account that there was already a lot of white sugar in the cake and cream, so I used yogurt cream to make it fresher.
20. My method is to mix the yogurt into a flowing paste, put it in a bag of flowers, squeeze some on the surface of the cake, flatten it with a knife, squeeze some yogurt on the edge, let it fall naturally.
Steps 21 to 24
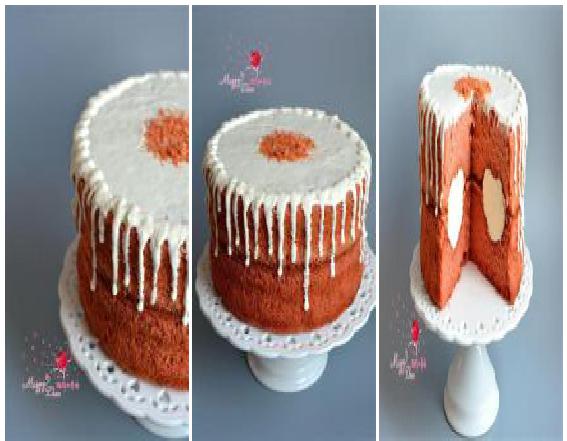
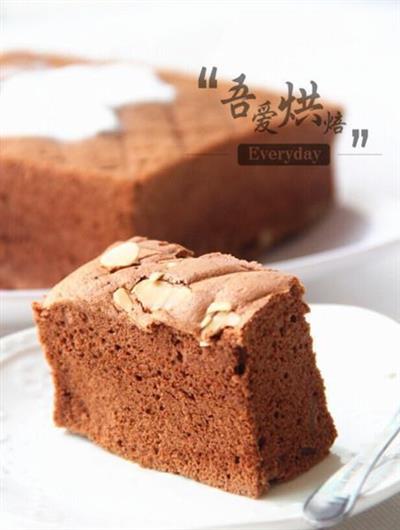
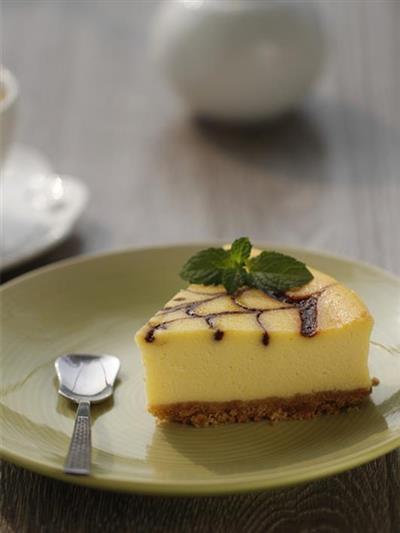
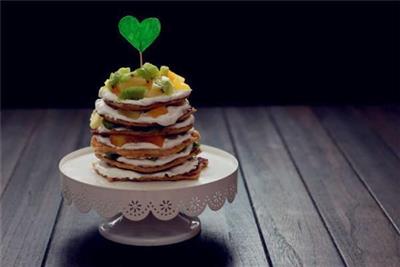
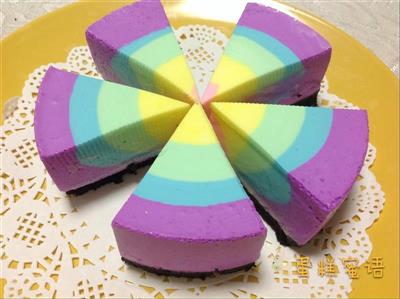
21. Enjoy the finished product
22. Enjoy the finished product
23. Enjoy the finished product
24. Enjoy the finished product
Handy cooking tips
This is the practice of sponge cake, so the mold must be fully applied to the butter and then sprinkled with dry powder, poured into the refrigerator after cooling and then poured into the cake paste, so it is easier to get rid of the mold; due to the peculiarities of the mold, it is not recommended to use a sponge cake; the amount of red curry powder can be increased according to personal preference; the time and temperature of baking the cake can be adjusted according to your own oven.

REACTION RECIPES
- Coffee bean cookies - crispy
- Cranberry and rose cookies
- Buttoned cookies
- Egg yolk
- Original Roman shield cookies
- Tasty Roman shield biscuits
- Margaret's cookies
- Fingers crossed
- Nuts and seeds
- Cranberry cookies
- Cranberry cookies
- The taste of peanut butter
- Baking twisted grains - sugar cream biscuits
- Grapefruit biscuits
- The biscuit.
MOST POPULAR RECIPES
- Birthday cake with roses
- Quick apple juice
- Thick cream cake rolls
- Marble cake
- Cheese and purple potatoes
- The girl's favorite is kitty yogurt mousse cake.
- Half a circle of chocolate
- Mocha coffee cake
- The vanilla cake
- Sponge paper cup cake
- Red potatoes
- A thousand layers of honey cake
- Chocolate paper cup cake
- Chocolate oatmeal energy balls
- Whole wheat blueberry corn cake